
The Hidden Scent behind the Baseboard: My Brush with Damp Walls
Most safe home renovations bring a little dust, but cutting into water-damaged sheetrock is a completely different beast when your lungs act up. Sledgehammers and regular dust masks will only turn dormant mold spores into an airborne cloud that hangs around your hallway for days. Before you start your next home improvement project, you need a dust-tight plan. Learning how to safely remove drywall with mold allergies keeps your air clear, your framing clean, and your lungs completely out of harm’s way.
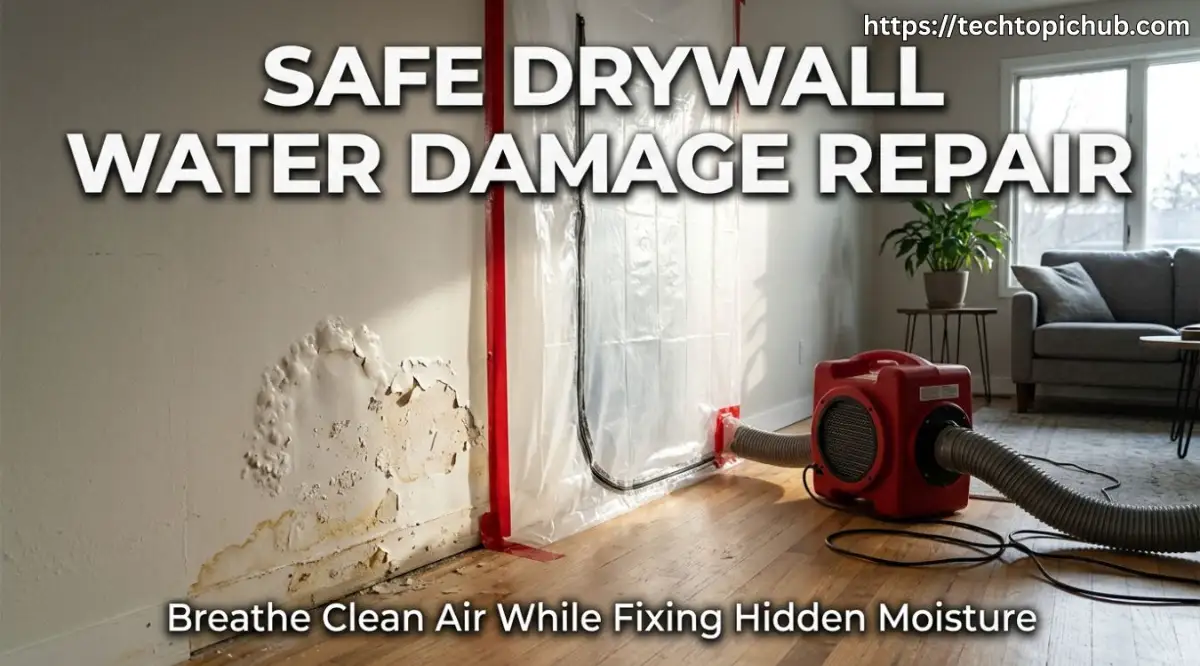
I woke up to a faint, sour smell in our hallway that lingered for three straight weeks. My chest started feeling heavy every time I sat in the living room, and my nightly asthma inhaler barely offered relief. I assumed it was seasonal pollen drifting through open windows until I noticed a slight, yellow wave bubbling along the lower wall paneling.
When I pressed my thumb against the paint, the wall yielded like a wet sponge. The plumbing line behind the guest bathroom had cracked, soaking the back of the gypsum board for weeks. My throat immediately seized with an awful, itchy dryness, and my eyes began watering before I had even touched a single hand tool.
I knew right away that tearing this apart the wrong way would flood our entire home with billions of microscopic mold particles. For someone with sensitive airways, a typical tear-out project can feel like a direct ticket to an emergency clinic.
Many people rush in with crowbars and hammers because the sight of wet plaster makes them panic. They end up smashing the material into tiny chalky clouds that stay suspended in the living area for weeks.
That single mistake ruins your indoor living space and leaves you trapped with coughing fits, skin irritation, and sleepless nights. Doing this repair work safely requires a smart, controlled plan rather than brute force.
When you learn how to safely remove drywall with mold allergies, you can fix the structure of your house without sacrificing your physical comfort.
Essential Rules for Dust-Free Drywall Remediation
- Isolate First, Cut Second: Lock the room down with 6-mil plastic barriers and set up a window exhaust fan to pull contaminated air directly outside.
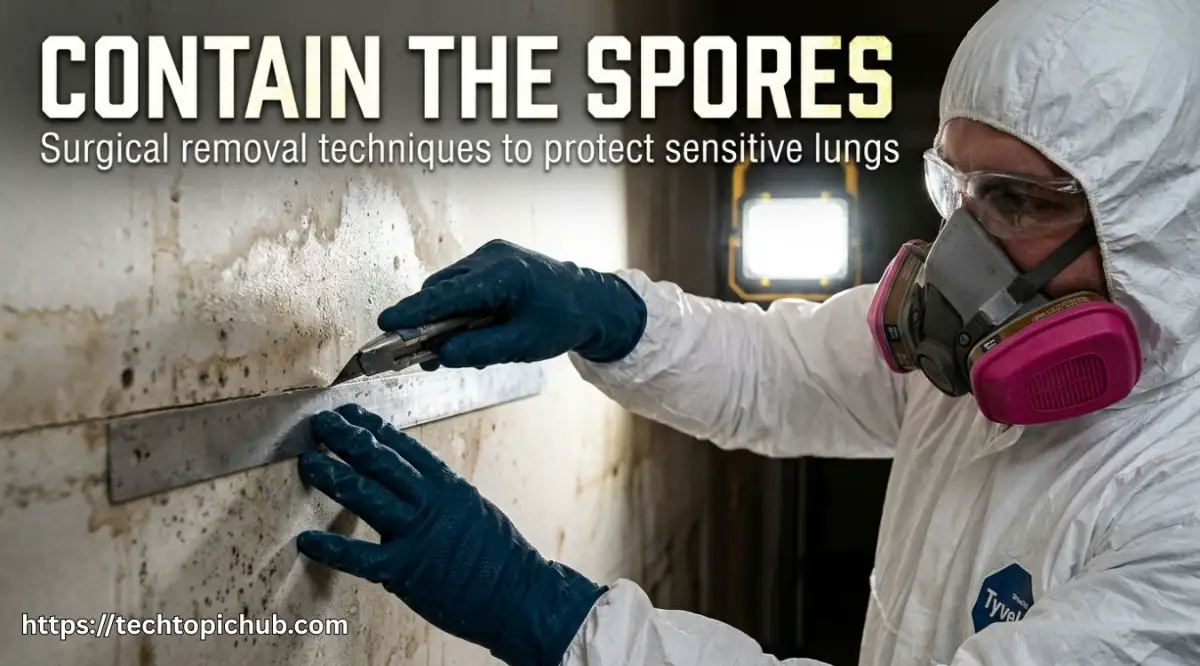
- Upgrade Your PPE: Swap loose paper dust masks for a snug-fitting silicone half-mask paired with P100 filters to stop microscopic spores from entering your airways.
- Never Smash or Dry-Sand: Score damp sheetrock with a razor blade to cut it into tidy pieces, and smooth dry joint compound using a damp sponge instead of sandpaper.
- Verify Dry Wood: Never hang new panels until a pin-style moisture meter reads below 12% across every exposed wall stud.
The Dust-Free Demolition Blueprint: Containing the Danger Zone
Standard demolition methods rely on speed, but speed is your worst enemy when your lungs react to fine particles. When drywall absorbs water, the paper backing becomes a buffet for common household fungi. Smashing that board into pieces turns those colonies into airborne projectiles that easily slip past standard cloth masks.
Your goal is simple: isolate the workspace completely so that zero dust escapes into your regular living quarters.
Building an Airtight Plastic Shield
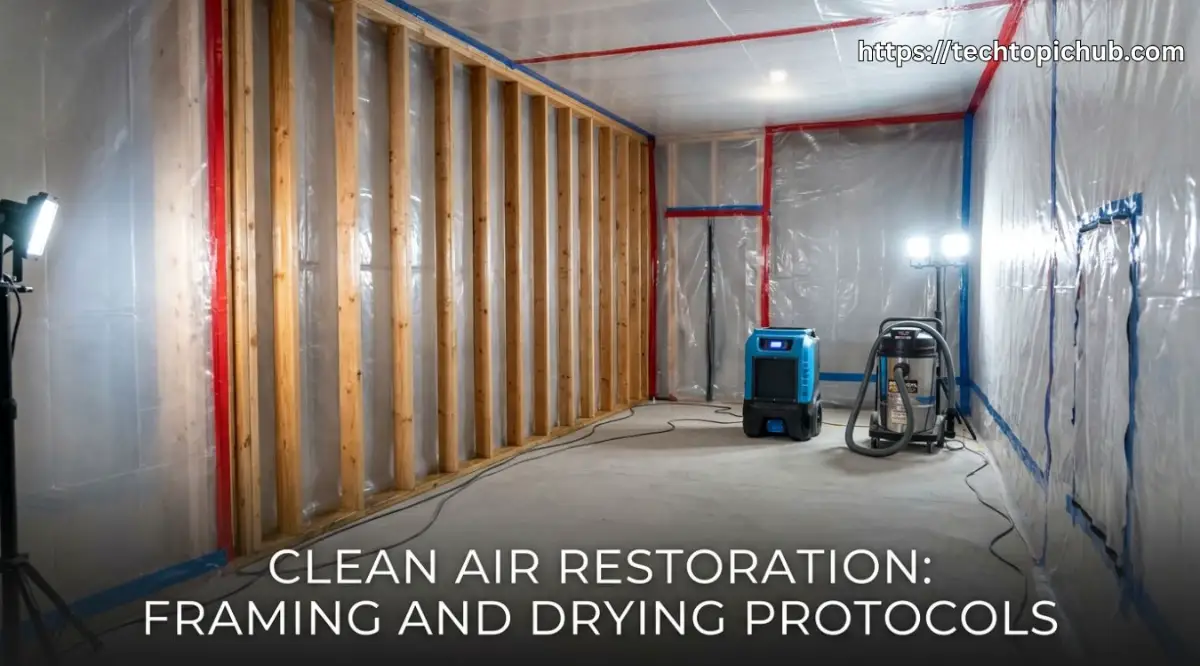
Before you loosen a single screw, you need to turn the damaged room into an isolated quarantine chamber. Buy heavy-duty 6-mil polyethylene plastic sheeting from any local hardware store. Do not use thin painter drop cloths, because they tear easily and flutter whenever doors open.
Tape the thick plastic along the ceiling, down the adjoining walls, and onto the floor using heavy-duty painter tape. Double the seal by running an extra layer of duct tape over the outer edge to guarantee an airtight hold.
If you must pass through the room frequently, install a stick-on heavy-duty zipper directly onto the plastic entrance sheet. This simple barrier keeps floating particles trapped right where you can control them.
Managing Air Currents and Negative Flow
Air naturally moves from high-pressure zones to low-pressure zones inside every home. If you open a window without a plan, outdoor breezes will blow interior dust directly into your kitchen and bedrooms.
Place a box fan directly inside an open window pointing outward, blowing air out of the house. Seal the empty space around the fan edges with cardboard and tape.
This simple step creates negative air pressure inside the sealed work area. When you pull open the zipper door, air will rush into the room instead of blowing dirty air out into your clean hallway.
If your budget allows, rent a commercial air scrubber equipped with a certified HEPA filter. These machines exchange the room air multiple times an hour, capturing particles down to 0.3 microns.
Essential Respiratory Protection That Actually Works
A standard blue surgical mask or a loose paper dust cover does nothing to protect an asthmatic lung from damp sheetrock dust. Gypsum breaks down into tiny mineral shards that carry fungal fragments directly into the lower bronchial tubes.
You need an N95 respirator at the very bare minimum, but an elastomeric half-mask respirator with P100 filters is ten times better. These rubberized masks form a solid vacuum seal against your skin, ensuring no dirty air sneaks past the edges.
Pair your respirator with indirect-vent safety goggles that prevent chalky residue from irritating your tear ducts. Throw a cheap disposable hooded coverall over your clothes so you do not carry allergens on your shirt into your bed later.
Quick Checklist: Standard Demo vs. Allergy-Safe Containment
Watch this quick video to see how setting up an airtight plastic barrier and negative air exhaust traps dust before you cut into a single wall. Seeing this containment setup in action will help, you tackle the rest of the repair with total confidence!
Remediation Realization:
When I tackled my first wet wall, I tried using a standard oscillating power tool because I thought it would save my hands from cramping. That single high-speed blade acted like a leaf blower, blasting a fine gray mist straight through my cotton bandanna within ten seconds. My lungs burned for three days afterward, and I had to wipe down every surface in the hallway twice. Taking twenty extra minutes to cut everything by hand with a utility knife feels slow, but it eliminates that toxic haze.
Take each large section and place it directly into a heavy contractor-grade 3-mil trash bag while still inside the containment area. Never drag bare, crumbling wall pieces through your clean hallways to get to the outside trash bin.
Twist the heavy plastic bag neck, loop it over, and tape it closed before moving it an inch. Following these steps gives you the exact same safety level you would expect from a commercial drywall water damage repair service.
Cleaning the Exposed Studs and Cavity
Once the wet sheetrock is bagged, you will see the exposed wall framing, insulation, and pipe runs. If fiberglass insulation sits behind the damp wall, it must go immediately.
Fiberglass acts like a sponge, holding dirty moisture against the wood grain for weeks. Pull the batt insulation out slowly, fold it onto itself, and bag it immediately inside heavy plastic.
Vacuum every square inch of the exposed framing and sill plate with a genuine HEPA-filtered shop vacuum. A typical shop vacuum without an internal HEPA seal simply shoots microscopic spores out of its back exhaust port into your face.
Wipe down the wooden framing members with an unscented detergent solution or a specialized antimicrobial wash. Avoid splashing raw bleach onto wet wood, as bleach contains mostly water that can soak deeper into wood pores while emitting harsh fumes that trigger asthma spasms.
Complete Structural Drying Before Rebuilding
Rushing to put up new sheetrock over damp studs is the number one reason remediation projects fail. Wood might look dry to your bare eyes while its inner core remains saturated with water.
Set up a heavy-duty commercial dehumidifier inside the plastic room and run it non-stop for at least forty-eight hours. Keep your outward-facing box fan running to pull any lingering moisture directly outside?
Check the lumber with an inexpensive pin-style wood moisture meter before you hang your first new board. The reading should be below twelve percent moisture content across all structural members before closing up the wall.
Stud Moisture Decision Matrix (Before You Close the Wall)
- Under 12% Moisture: Safe to rebuild. Coat with borate wood sealer, let it cure for 24 hours, and hang your mold-resistant drywall panels.
- 12% to 18% Moisture: Not ready. Keep your dehumidifier running at 40% RH and face your exhaust fan outside for another 24 hours.
- Over 19% Moisture or Structural Rot: Deep saturation. If the studs remain wet after 72 hours of forced drying, call a professional drywall water damage repair service before the framing warps or spreads fungal colonies across your subfloor. Completing proper water damage restoration drywall always comes down to patience over speed.
Taking these extra days protects the structural strength of your home and guarantees your breathing remains clear. Performing this disciplined water damage restoration drywall process protects your health, keeps clean air moving through your rooms, and ensures your home stays structurally sound for years to come.
Professional Tricks for a Mold-Proof Wall Cavity
Putting your wall back together requires just as much care as tearing it out. If you slap standard materials back into a space that recently suffered a leak, you invite future problems. You can turn that vulnerable space into a rock-solid barrier that resists dampness for decades.
Switching to Mold-Resistant Drywall Panels
Never install ordinary white paper-faced drywall in an area that has experienced water intrusion. Standard sheetrock uses cellulose paper facings that act as instant food for spores whenever humidity spikes. Instead, pick up fiberglass-faced or treated gypsum panels, commonly recognized by their green or purple skins.
These modern panels contain zero organic food sources on their outer surfaces. Even if a small pipe condensation drip occurs down the road, moisture simply rolls off without feeding microbial growth. You can discover more home upkeep strategies by browsing our comprehensive guides on techtopichub.com to keep your entire property in top condition.
Wet-Sanding and Sponge Finishing Secrets
Dry sanding joint compound is the biggest trigger for respiratory attacks during the finishing phase. Traditional sandpaper grinds dried mud into microscopic powder that lingers in your indoor air for days. That chalky fog easily triggers asthma flare-ups and coats every piece of furniture in your home.
You can bypass this airborne hazard entirely by using wet-sponge sanding techniques. Wait until your joint compound dries completely, then take a specialized dense foam drywall sponge damp with warm water. Rub the edges of your seam in gentle, circular strokes to smooth out ridges without releasing a single speck of dust.
Treating Framing Wood with Borate Wood Sealers
Before closing up your framing, coat the bare studs with a clear borate-based wood preservative. Borate salts penetrate the wood grain and make it uninhabitable for wood-decay fungi and common pests. The EPA guidance on indoor mold and moisture control explains that controlling surface food sources is just as important as drying the air.
Apply the solution evenly with a clean garden pump sprayer or a standard paint roller. Allow the treated timber to dry for at least twenty-four hours before you screw your new panels in place. This clear chemical shield gives you permanent insurance behind your baseboards.
Using Setting-Type Compounds Instead of Pre-Mixed Mud
Pre-mixed joint compound in a bucket contains organic starches and high water content to keep it soft on store shelves. That wet, organic mix dries slowly and can harbor mildew if the room remains humid.
Setting-type compound, commonly sold in powder bags as "hot mud," cures through an internal chemical reaction rather than simple evaporation. It hardens quickly, resists moisture absorption, and gives mold zero opportunity to establish a foothold while drying. Mixing small batches by hand keeps you in full control of your working time and indoor air quality.
 Traps That Turn a Small Patch into a Respiratory Disaster
When unexpected leaks strike, stress levels run high and hasty decisions happen. Homeowners often reach for quick fixes that make a localized water issue much worse for their respiratory health. Knowing what not to do keeps your lungs safe and protects your family from recurring illness.
The Myth of Spraying Raw Bleach on Wood
The most widespread mistake in home restoration is dousing moldy framing with household chlorine bleach. Bleach works well on non-porous bathroom tiles, but it cannot penetrate the cellular structure of structural timber.
The chlorine quickly evaporates into the air, leaving behind pure water that soaks deep into the wood fibers. That trapped moisture actually feeds dormant fungal roots buried beneath the wood surface. The CDC guidelines on mold cleanup safety clearly advise against relying on bleach sprays as a magical fix for structural framing.
On top of that, breathing chlorine gas mixed with organic dust causes immediate airway swelling in anyone with asthma. Use specialized botanical fungicides or EPA-registered quaternary ammonium formulas instead.
Trapping Dampness behind Quick Paint Jobs
We all want the ugly water stain gone as fast as possible, especially if company is visiting. Rolling heavy oil-based stain-blocking primer over a damp sheetrock surface might hide the yellow ring for a few days.
Beneath that waterproof paint layer, trapped moisture rots the gypsum core from the inside out. Within weeks, the paint bubbles up, releases musty gases, and pushes toxic spores through tiny cracks in the wall.
Always confirm the wall cavity is bone dry with a pin-style moisture meter before applying any primer. If plumbing failures happen suddenly, covering the repair bills can feel stressful without proper savings. You can read our practical guide on the secret to building an emergency fund without ignoring your debt to manage unexpected restoration costs smoothly.
Dragging Unsealed Trash Bags through the Living Room
Another common misstep happens during the cleanup phase. People carefully cut out damp materials, pile them into loose trashcans, and wheel them right past their kitchen and bedrooms.
As that loose debris bumps against doorframes, billions of fine particles shake loose into your breathing space. Those particles land on rugs and air conditioning return vents, spreading across your entire floor plan.
Always package every scrap inside 3-mil contractor bags right at the cut site. Wipe down the outside of each sealed plastic bag with a wet rag before carrying it out through your home.
Skipping the HVAC Vent Isolation Step
Your central air conditioner or furnace acts as an open highway for microscopic allergens during remodeling. If you cut into a wall while your heating system runs, the intake vent sucks up that powdery cloud instantly.
Within minutes, your ductwork distributes contaminated dust into every closed bedroom in the house. Always switch your thermostat to the "Off" position before starting your demolition work.
Cover every supply register and return grill inside the work zone with heavy plastic sheeting and blue painter tape. Leave them sealed until you finish wet wiping the floors and running your HEPA air scrubber.
Professional Help versus Doing It Yourself
Knowing your limits is essential when your physical health is on the line. Small plumbing drips under a kitchen sink that affect a few square feet can easily be handled with patience and the right gear.
However, if water damage covers more than thirty continuous square feet, the project shifts out of basic DIY territory. Large-scale water events often involve hidden electrical lines, saturated ceiling framing, and deep contamination pockets that require heavy extraction machinery.
In those situations, hiring a certified drywall water damage repair service is the smartest choice for your personal safety. Experienced remediation crews bring negative-air machines, industrial desiccant dehumidifiers, and sealed disposal equipment that keep your living space pristine.
When you know how to safely remove drywall with mold allergies, you can clearly judge whether a job is safe to tackle yourself or better left to pros. Completing thorough, documented remediation also protects your investment if you ever plan to put your house on the market. In fact, following proper repair steps ties directly into a proven way to speed up the home selling process in a sluggish housing market without scary inspection surprises.
If you ever feel dizzy, develop a persistent cough, or notice chest tightness while working, stop immediately. Step outside into clean air, remove your work clothes, and call in an expert team to finish the remediation safely.
Your Clean-Air Reconstruction Checklist
Restoring your living space to a healthy state does not have to be an overwhelming ordeal. Taking deliberate, systematic actions keeps your indoor environment safe and lets you take back control of your home.
Seal the perimeter: Lock down your doorways with heavy 6-mil plastic and establish negative airflow with an exhaust fan.
Protect your body: Put on a tight-fitting P100 silicone respirator and safety goggles before opening any wall cavity. Check the OSHA respiratory protection guidelines to ensure your mask seals properly against your face.
Cut with precision: Score damp panels lightly with a hand knife rather than swinging heavy demolition tools.
Clean systematically: Run a true HEPA vacuum over the framing and damp-wipe all hard surfaces with safe antimicrobial washes.
Verify dryness: Confirm that your studs register below twelve percent moisture content before installing new panels.
Finish without dust: Use treated moisture-resistant drywall, mold-proof setting mud, and wet-sponge sanding techniques.
Following this complete water damage restoration drywall protocol guarantees that your home stays sturdy while your family breathes easy. You never have to pick between having a sound structure and having clean, healthy lungs.
I know how scary it feels when your home makes you cough, but taking charge of your repairs step by step changes everything. You have the tools, the knowledge, and the exact process to reclaim your clean air today. Trust your preparation, protect your breathing, and enjoy the comfort of a fresh, healthy room.
Clear Answers on Safe Wall Repair & Allergies
Can I repair damp sheetrock without cutting it out?
If gypsum board has stayed wet for more than forty-eight hours, the internal paper backing has likely started growing colonies. Simply drying the front surface with a fan leaves hidden allergens trapped inside the core. Cutting out the damp portion twelve inches above the water mark is the only reliable way to guarantee healthy indoor air.
What respirator rating is best for working around drywall mold?
A standard paper dust mask does not create a tight seal and lets fine fungal particles pass right through. You should use an elastomeric half-face respirator equipped with pink P100 particulate filters. These filters t